Oven Roasted Garlic – How To Roast Garlic
Learn how to make sweet, caramelized oven roasted garlic with just two ingredients. This easy meal prep staple is perfect for spreading, sauces, soups, and more.
Save This Recipe
Enter your email and we’ll send the recipe directly to you!
By submitting this form, you consent to receive emails from Delicious Meets Healthy.
If you’ve never made oven roasted garlic at home, you’re about to unlock one of the easiest flavor upgrades you’ll ever try. I roast garlic regularly for meal prep because it transforms sharp, pungent cloves into something buttery, sweet, and deeply caramelized. It’s one of those simple kitchen basics that just makes everyday cooking easier and more flavorful.
This simple condiment recipe takes just minutes to prep and fills your kitchen with the most incredible aroma. Whether you’re making sauces, elevating mashed potatoes, or upgrading a sandwich, roasted garlic is the star ingredient that makes everything taste amazing. Once you taste it, you’ll want to spread it on everything.
Ingredients
This recipe is so simple, but choosing good ingredients matters.
- Whole garlic bulb – Look for a firm bulb that feels heavy for its size. Avoid bulbs with green shoots or soft spots. Fresh garlic roasts sweeter and more evenly.
- Olive oil – I prefer extra virgin olive oil because you can actually taste it in the finished garlic. It helps the cloves soften and caramelize instead of drying out. You can also use avocado oil.
- Optional Add-Ins: If I know I’ll be using it as a spread, I sometimes add a small pinch of salt, freshly cracked black pepper, or a sprig of thyme or rosemary.
How To Roast Garlic In The Oven
Here is exactly how i make it at home:
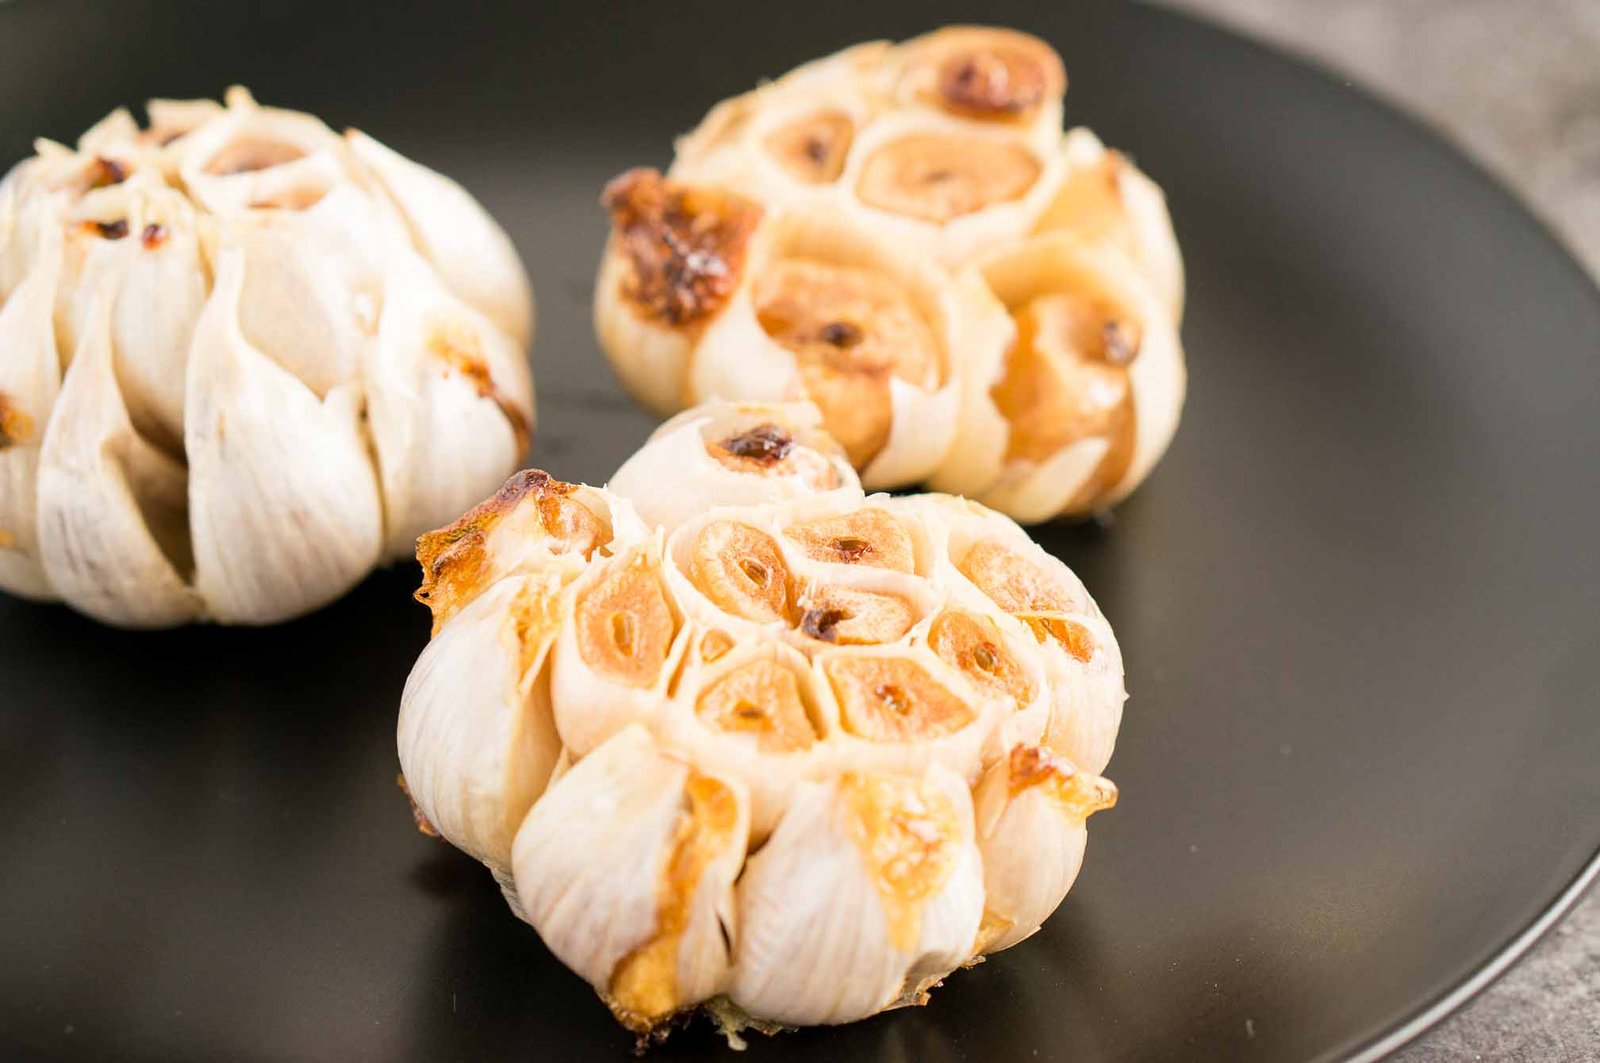
- Prepare the garlic. Peel away the loose outer papery layers, keeping the bulb intact. Slice off the top so the tops of the cloves are exposed.
- Drizzle and wrap. Place the bulb on a piece of foil. Drizzle the olive oil evenly over the exposed cloves. Wrap the foil tightly to create a sealed pouch.
- Roast. Set the foil packet on a baking sheet and roast for 40–50 minutes. The cloves should be soft, lightly golden, and fragrant.
- Cool and squeeze. Let it cool slightly. Then gently squeeze from the bottom of the bulb and the cloves will slide right out. Mash if desired or store in air-tight container in the fridge for a week.
TIPS FROM NELI’S KITCHEN
Top Tips for the Best Oven Roasted Garlic
After making this many times, here are my tried-and-true tips:
- Seal the foil tightly. The steam inside helps the garlic cloves soften properly.
- Use enough oil. Dry garlic won’t become creamy.
- Don’t rush it. Low and slow creates that caramelized sweetness. Roasting it at too high temperature can make it taste bitter.
- Roast extra bulbs. It takes the same time, and you’ll be glad you did.
One mistake I made early on was under-roasting. The difference between “good” and “amazing” roasted garlic is just a few extra minutes in the oven.
Favorite Ways To Use Roasted Garlic
I love keeping roasted garlic on hand because it instantly makes everyday food taste better. I start with one clove, taste, and add more if I want a deeper flavor. It’s mellow, slightly sweet, and works in almost anything. Here’s how I use it most often:
- Blend into dips like hummus or white bean dip. I also stir it into mayo or yogurt for a quick, creamy dip or sandwich sauce.
- Fold into mashed potatoes or creamy vegetable purées for that subtle, nutty finish.
- Stir into pasta sauces, especially my Instant Pot Bolognese sauce, to build savory depth without extra seasoning.
- Add to blended soups like butternut squash soup or roasted tomato soup. I mix it in right before puréeing so it melts right in.
- Scatter whole cloves on pizza or focaccia, then use any extras to mix into softened butter for garlic bread to spread on baguettes or onto sandwiches.
- Whisk into homemade vinaigrettes like Italian dressing, Caesar dressing, or Thousand Island for a smoother, more rounded garlic flavor.
Storing Roasted Garlic Safely
Because garlic is low in acid, so you’ll want to store it properly to keep it safe and fresh.
- Fridge: Keep it in an airtight container, lightly covered in olive oil for best texture, and use it within a week. I always grab a clean spoon each time so it stays fresh longer.
- Freezer: For longer storage, freeze mashed garlic in small portions or freeze whole cloves on a tray first, then transfer to a container. I like freezing small spoonfuls so I can grab one anytime I’m cooking.
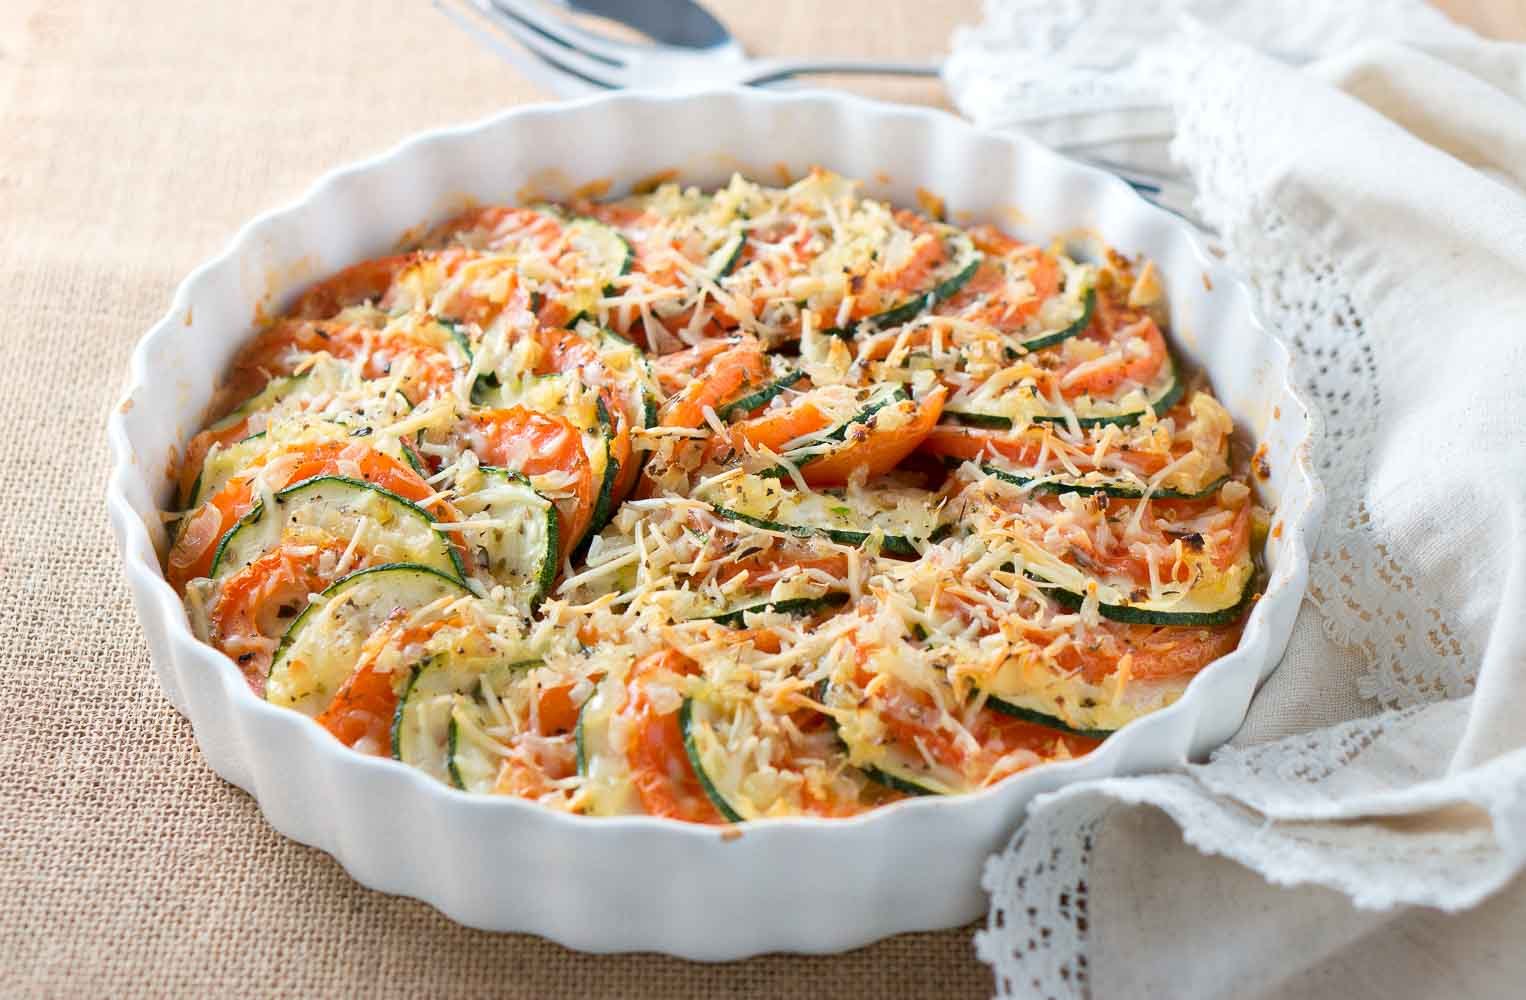
Flavor Boosters I Keep in My Fridge
These easy homemade condiments are the ones I make on repeat – they add instant flavor to everyday meals.
If you enjoyed this Roasted Garlic recipe or any other recipe on my blog, please leave a ⭐ star rating and let me know how it went in the 📝 comments below.
Pin this now to find it later
Save This Recipe
Enter your email and we’ll send the recipe directly to you!
By submitting this form, you consent to receive emails from Delicious Meets Healthy.
Prevent your screen from going dark
Preheat your oven to 375° F. Remove the loose, papery outer skin from the garlic bulb, then slice off the top to expose the cloves.
Place the garlic on a piece of foil, drizzle evenly with olive oil, and wrap tightly to form a sealed pouch. Set it on a baking sheet.
Roast for 45–50 minutes, until the cloves are soft, golden, and fragrant.
Let cool slightly, then squeeze the cloves out of the bulb. Mash and use as desired, or store in an airtight container in the refrigerator for up to 1 week.
- Roasted garlic should be soft and spreadable, almost like butter.
- If still firm, continue roasting in 5–10 minute increments.
- Roast multiple bulbs at once for easy meal prep.
- Store in the refrigerator for up to 1 week or freeze for longer storage.
Calories: 289kcal | Carbohydrates: 9g | Protein: 2g | Fat: 28g | Saturated Fat: 4g | Polyunsaturated Fat: 3g | Monounsaturated Fat: 20g | Sodium: 5mg | Potassium: 113mg | Fiber: 1g | Sugar: 0.3g | Vitamin A: 3IU | Vitamin C: 9mg | Calcium: 51mg | Iron: 1mg
Nutrition Disclaimer: Nutritional values are estimates and may vary with ingredients, brands, and portion sizes. For accuracy, use your preferred nutrition calculator.
Disclaimer: The information provided in this recipe is for informational purposes only and should not be considered medical or nutritional advice. I am not a doctor or a dietitian. Always consult a qualified healthcare provider for personalized guidance regarding your diet or health. For more details, please read my full disclosure page.